
Windows 8: Free Download for 32-Bit or 64-Bit
In this discussion, we will explore the methods for downloading Windows 8.1. The first approach involves a free Windows upgrade, while the second entails creating a Windows 8 ISO installation disc for older Windows versions and installing it on any PC. By following these steps, you can effortlessly obtain Windows 8.1 Pro at no cost for your Windows PC in 2023.
Perhaps you find yourself with a laptop lacking an operating system or wish to elevate your computer from an older Windows version. It’s possible you’re seeking a change from your current Windows operating system. Regardless, you may be unsure about the download and installation process. Rest assured, I’m here to provide guidance and assistance.
An appealing aspect of Windows 8 and Windows 8.1 is the absence of bloatware, making it ideal for the average user. This results in improved computer performance, while we refrain from endorsing any third-party download links. Instead, we solely offer official links for download.
Minimum System Requirements
Before you embark on the Windows 8 installation for your computer, take a moment to review the essential specifications. While modern computers typically exceed these requirements, it’s crucial to outline the minimum specifications to ensure compatibility.
System Requirements:
- RAM: 1 GB for 32-bit or 2 GB for 64-bit systems
- Processor: 1 GHz
- Disk Space: 16 GB for 32-bit or 20 GB for 64-bit systems
- Graphics: DirectX 9 graphics with WDDM driver
By verifying that your computer meets these criteria, you can confidently proceed with the Windows 8 installation process.
How to Verify System Configuration
To check your system configuration, follow these simple steps:
- Right-click on ‘This PC’ or ‘My Computer.’
- Select ‘Properties.’

Laptop or Computer Without an Operating System
You’ve recently acquired a new personal computer, but it arrived without an operating system pre-installed. Alternatively, you may have just completed the assembly of your custom-built computer. When installing Windows on a laptop or computer for the first time, the process differs slightly.
Here are the steps to guide you:
- Obtain a bootable USB drive or a bootable CD.
- Once you’ve inserted one of these bootable devices, your computer’s hardware will automatically initiate the booting process if there is no existing operating system.
- As you power on your computer, start pressing the “function key + F2 key” to access the BIOS. The BIOS is essential for advancing the installation process. However, please exercise caution, as the shortcut to enter the BIOS can vary, with some laptops using “Function key + F8” or “Del key.” Be sure to check your laptop’s documentation for the precise key combination.

- When the BIOS screen appears, navigate to the top menu, typically located as the fourth option from the left. Please note that BIOS navigation is performed solely using arrow keys, as mouse input is not supported.
- Once you’re in the boot menu, maintain the “Boot Mode” as “Legacy support” and modify the “Boot Priority” to “Legacy first.”
- Ensure that “USB Boot” is set to “enabled,” and “PXE Boot to LAN” is also set to “enabled.”
- Proceed to the section titled “Legacy” or a similar label. In this section, establish the USB drive with Windows as the top priority. To do this, select the USB HDD option and press “Enter,” then use the up arrow to move it to the top.
- To save these boot settings, press “function key + F10 key,” and when prompted, choose “yes.”
Configuring Windows Installation
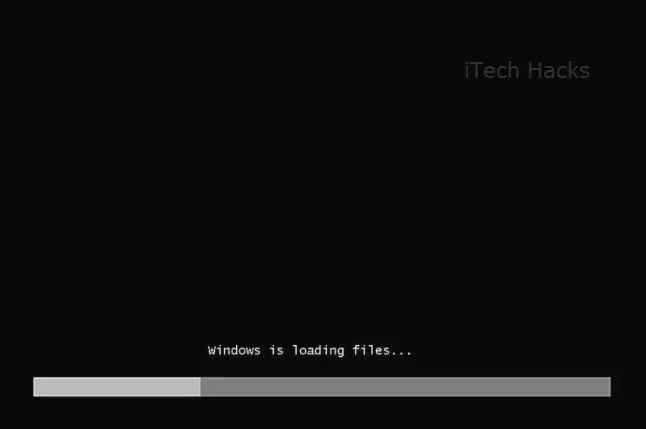
Once you’ve completed the BIOS settings, the system will automatically restart. Be patient as Windows proceeds with the installation.
Now, let’s delve into setting up your operating system:
- Upon restarting, the “Personalize” settings will appear. Here, you can select your preferred color. The color you choose will determine the theme your system’s operating system uses. Additionally, give your PC a name of your choice. Click “Next.”
- The following page will present you with settings. You have two options: “Express settings” or “Customize” settings. I recommend using “Express settings” for a quicker setup. However, if you prefer to customize and spend more time, select “Customize settings.”
- On the next page, you’ll encounter Internet connection settings. Click “Yes” if it’s for home use; otherwise, configure as needed. Then, click “Next.”
- The subsequent setting pertains to PC updates. I suggest checking all options and clicking “Next.”
- The next step involves Windows solutions. You can keep the defaults or make adjustments as necessary. Click “Next.”
- There’s an option to share information with Microsoft for future enhancements. Choose your preferences and click “Next.”
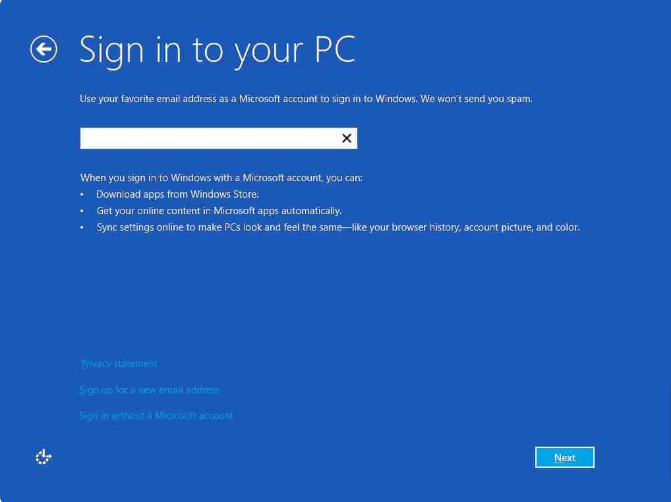
- Following this, you’ll set up a Microsoft account. Create a new account or use an existing one, then proceed accordingly.
- You’ll encounter a SkyDrive setting; click “Next.”
- Once you’ve completed these configurations, Windows will finalize the setup. Please wait for a moment.
- After the setup is complete, Windows is ready for use. The primary lock screen will appear. Click on the lock screen wallpaper and enter your password.
- Your Windows 8 operating system is now up and running.
Congratulations, you’ve successfully completed the process.
Download Windows 8/8.1 ISO 32-64 Bit
If you currently have an older version of Windows on your personal computer and wish to upgrade to Windows 8, fear not; it’s a straightforward procedure.
- Begin by downloading the Windows 8 ISO file using the provided link below.
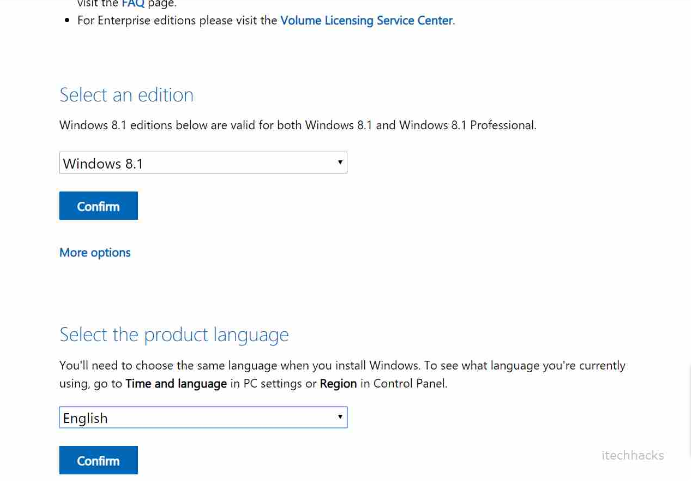
- you must buy windows 8 to keep it authentic and to get regular updates. But glad to know that Windows 8.1 is free.

Creating a Windows Installation DVD
To proceed, you’ll need to burn the ISO file to a DVD. Follow these steps:
- If you’re using Windows 8 or 8.1, right-click the Windows ISO file and select “burn disc image.”
- If you have a lower version of Windows, you’ll need to download image burning software from this link: https://www.poweriso.com/download.php.
- Install the software as needed.
- Right-click the Windows 8 ISO file, select “open with,” and then choose the Power ISO software to burn the disc.
Installing Windows 8
Once you’ve created the installation DVD, follow these steps:
- Insert the DVD into your drive and click on “setup.”
- A window will appear; click “yes.”
- Allow the Windows setup to initialize. When a window appears about essential updates, you have the option to “Download and install the update.” However, it’s recommended not to do this at this stage, as it will expedite the installation. You can update Windows after installation.
- Click “next” and enter the product key you received upon purchasing Windows.
- Accept the “license and agreement” and click “accept.”
Choosing Your Files
Now comes the decision regarding your files. You can either retain your personal files or opt to remove all files from your previous Windows operating system.
It’s advisable to select “keep personal files only” and then click “next.”
Now, we’ll wait while the system prepares to install the new Windows 8.
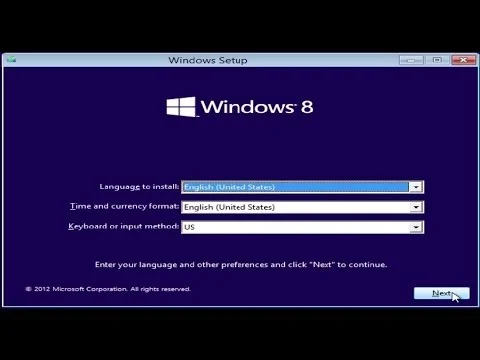
If you’re upgrading, a prompt will appear, requiring you to choose your preferred language settings for Windows 8. Click “ok.”
Next, click “install” and take a break. The installation duration can vary depending on your system type, typically taking between half an hour to an hour, or possibly longer.
The subsequent steps involve personalizing your Windows.
Initial Setup
Upon beginning the setup process, you’ll encounter several key steps:
- Personalization: You have the freedom to choose your preferred color, which will dictate your system’s theme. Additionally, give your PC a distinctive name of your choice and click “next.”
- Settings: At this stage, you have two options: “express settings” or “customize settings.” It’s recommended to use the express settings for simplicity and efficiency. However, if you wish to customize, you can choose the latter option.
- Internet Connection: Select “yes” if this is for a home connection. If it’s for a different environment, follow the necessary steps. Then, click “next.”
- Updates: It’s advised to enable all update options for your PC. Click “next.”
- Windows Solutions: Make your choices as needed, but the recommendation is to keep the settings as they are. Click “next.”
- Information Sharing: Decide what information you’d like to share with Microsoft for improved future usage. Select your preferences and click “next.”
- Microsoft Account: Create a new account or use an existing one if you have it. Follow the setup steps.
- SkyDrive: Proceed by clicking “next.”
- Finalization: Wait briefly while the system completes its setup.
- Primary Lock Screen: Click on the lock screen wallpaper and enter your password.
With these steps completed, your Windows 8 is fully operational. Congratulations, you have successfully upgraded your desktop or laptop to Windows 8.
Dual Booting Windows 8
Dual booting, which involves having two different operating systems on a single computer, is a straightforward process if you follow these specific steps:
Preparing Disk Space for Dual Boot:
- Access Disk Management: Begin by opening “This PC” through the Start menu. Right-click on “This PC” and select “Manage.”
- Navigate to Disk Management: In the Computer Management window, click on “Disk Management.”
- Shrink Volume: Locate your C: drive, right-click on it, and choose “Shrink Volume.” Specify the amount of storage you want to allocate for Windows 8 in the provided space.
- Create a New Volume: After shrinking the volume, right-click on the unallocated space and select “New Simple Volume.” Follow the on-screen instructions and assign a volume label for easier identification.
Installing Windows 8:
- Bootable Drive: Insert your Windows 8 bootable USB or CD and power off your computer.
- Access BIOS: Turn on your computer and quickly press “Function Key + F2” simultaneously to access the BIOS settings.
- Boot Menu: Within the BIOS, navigate to the boot menu.
- Set Boot Priority: Locate your USB or CD drive and move it to the top of the boot priority list. Confirm your selection and exit BIOS settings by pressing F10, then Enter.
- Boot from External Media: Upon restart, press any key to boot from the CD or USB.
- Install Windows 8: Your system will initiate the Windows 8 installation process.
- Choose Installation Drive: After entering your product key, select “Custom” when asked about the installation location.
- Select Allocated Volume: Choose the volume you previously created for Windows 8 installation.
- Complete Installation: Proceed to install Windows 8 on the selected volume.
Selecting Operating System:
- Boot Menu: When your system restarts, a boot menu will appear, allowing you to choose the operating system you want to run.
By following these steps, you can seamlessly dual boot Windows 8 alongside your existing operating system. Windows 8 offers a smooth and visually appealing user experience. Enjoy your browsing, and have a great day!
Conclusion:
We trust that this article has been a helpful guide for you in the journey of downloading and installing Windows 8, whether you opt for the 32-bit or 64-bit version in 2023. Our aim was to simplify the entire process, making it accessible even to those less familiar with technical matters. Should you find this guide useful, we would greatly appreciate your support by sharing it with your friends on social media or through your stories, contributing to our growth. Should you encounter any issues or have questions, please don’t hesitate to leave a comment below. Cheers!